
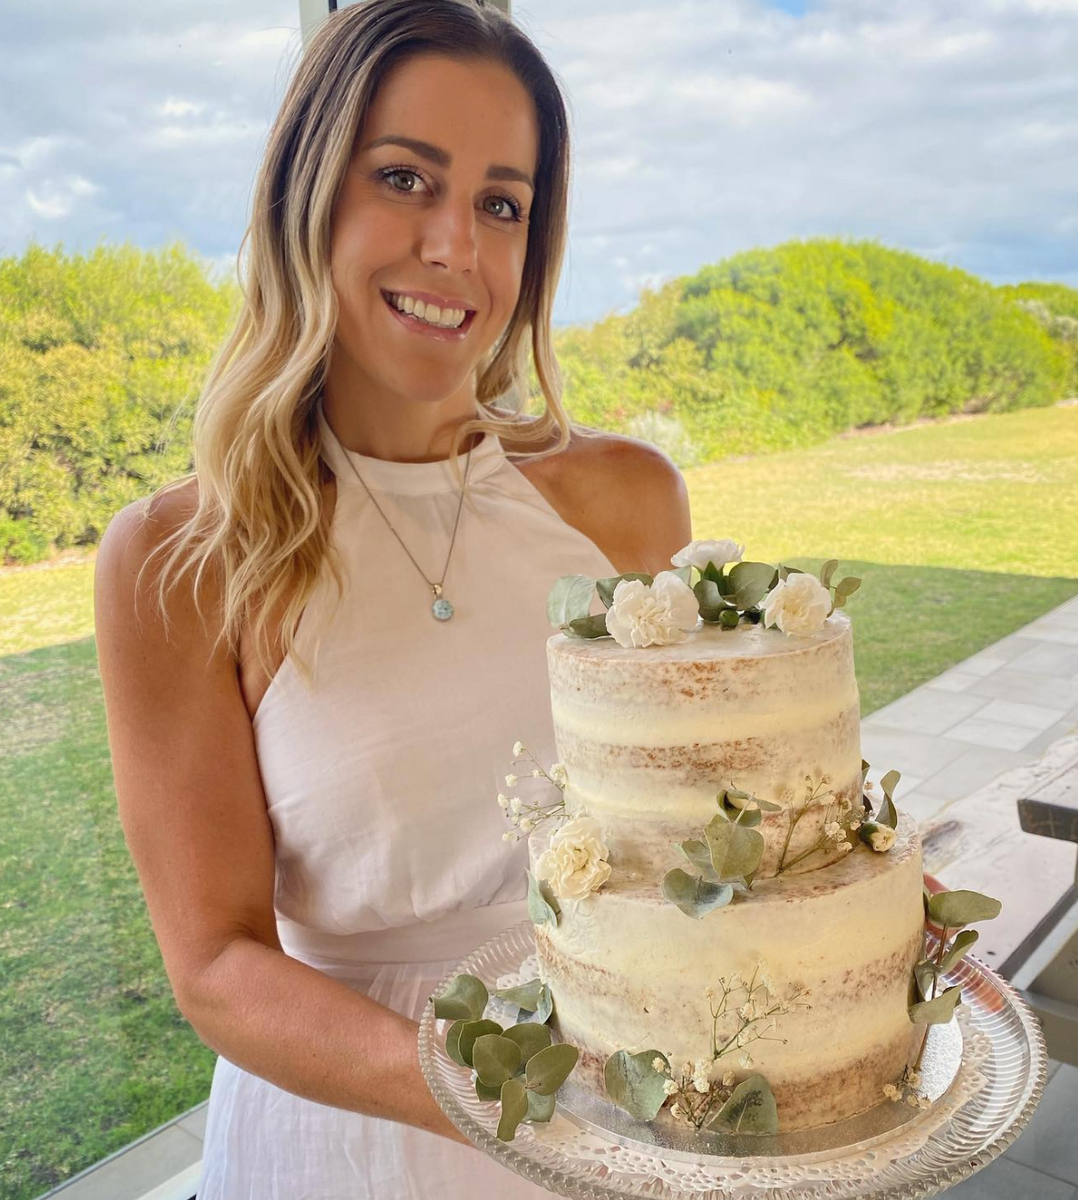
About Karma Kitchen
Made to order Cakes and Cupcakes in Exmouth, WA.
Custom design cakes available, just send us an email with your details, cake delivery date, inspo pictures, cake flavour and size, then we will get back to you with a quote.
We cover lots of different dietary requirements, our Cakes can be made Egg Free, Dairy Free, Gluten Free, Nut Free, Soy Free. Just let us know of any intolerances when ordering.
Follow us on Instagram to stay up to date.
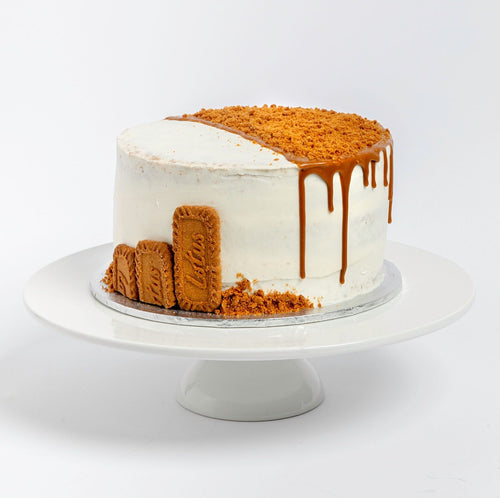
Cakes
-
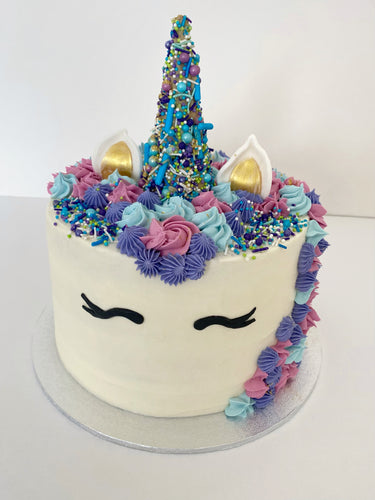
Unicorn Cake
![Unicorn Cake, vegan Cake, dairy free cake, egg free cake, kids cakes, buttercream cake, girls cakes]()
- Regular price
- from $110.00
- Sale price
- from $110.00
- Regular price
-
- Unit price
- per
Sold out -
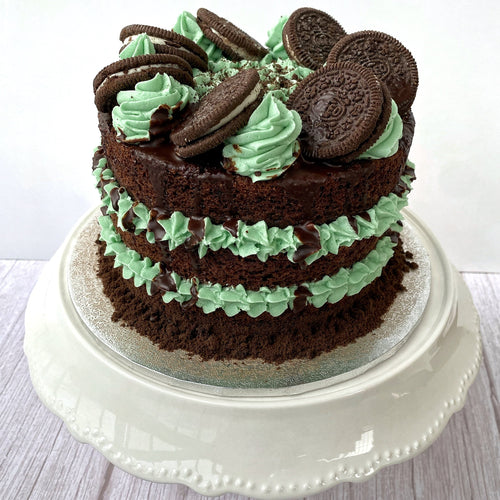
Chocolate Mint Cake
![]()
- Regular price
- from $80.00
- Sale price
- from $80.00
- Regular price
-
- Unit price
- per
Sold out


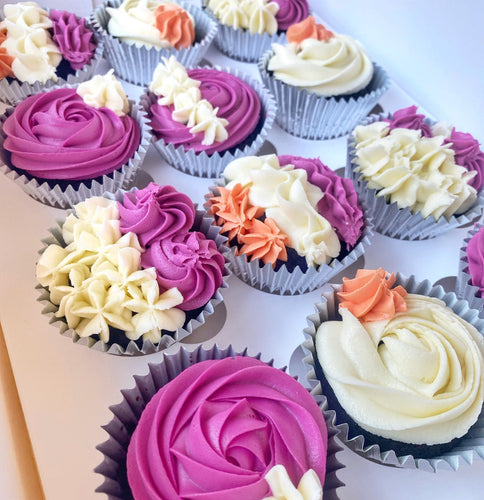
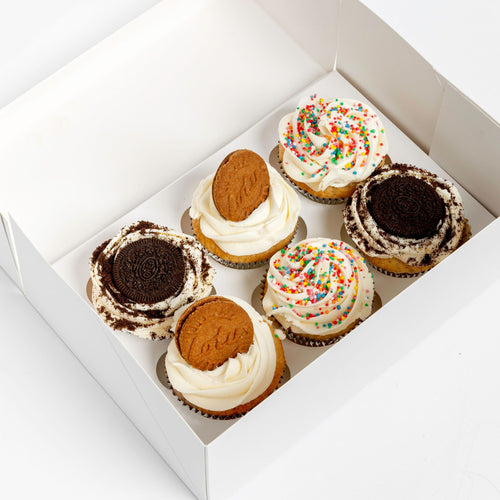
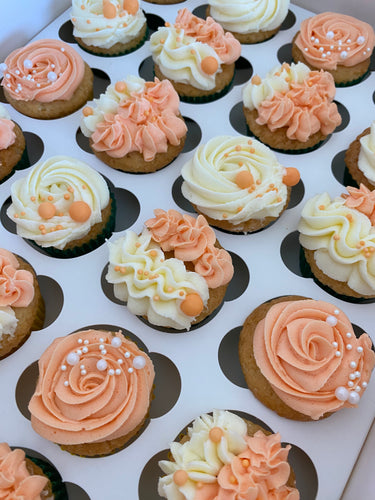
Treats
-
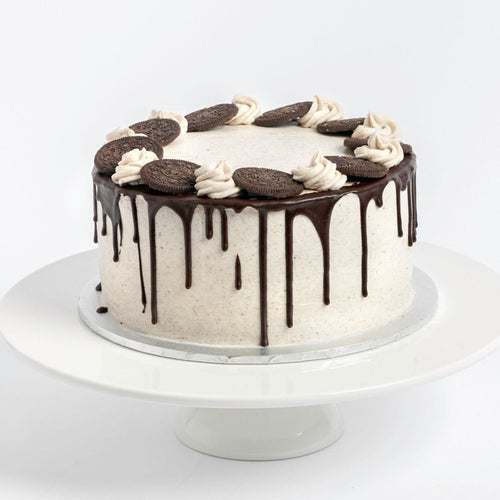
Cupcakes - Gluten Free
![]()
- Regular price
- from $32.00
- Sale price
- from $32.00
- Regular price
-
- Unit price
- per
Sold out


Breads
-
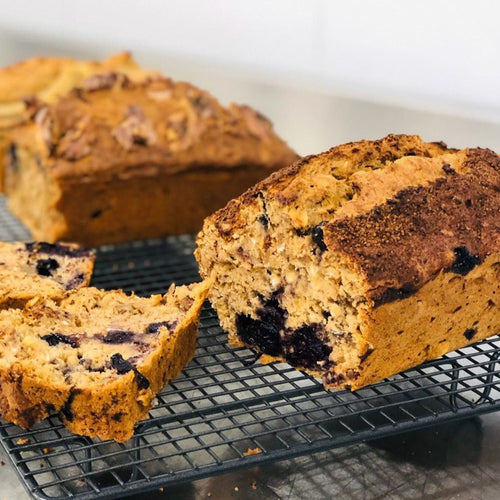
Banana & Blueberry Bread
![]()
- Regular price
- $20.00
- Sale price
- $20.00
- Regular price
-
- Unit price
- per
Sold out

